Difference between revisions of "Epilog Laser 101"
| Line 19: | Line 19: | ||
This step involve using a variety of toolbars within Illustrator. The main toolbar is usually docked on the left and is called the Advanced Toolbar. | This step involve using a variety of toolbars within Illustrator. The main toolbar is usually docked on the left and is called the Advanced Toolbar. | ||
#:[[File:Laser 101.03 Adobe Advanced Toolbar.png]] | #:[[File:Laser 101.03 Adobe Advanced Toolbar.png]] | ||
| + | |||
| + | #:[[File:Laser 101.04 Select Ellipse Tool.png]] | ||
| + | |||
| + | #:[[File:Laser 101.05 Draw Ellipse.png]] | ||
| + | |||
| + | #:[[File:Laser 101.06 Draw Small Circle.png]] | ||
| + | |||
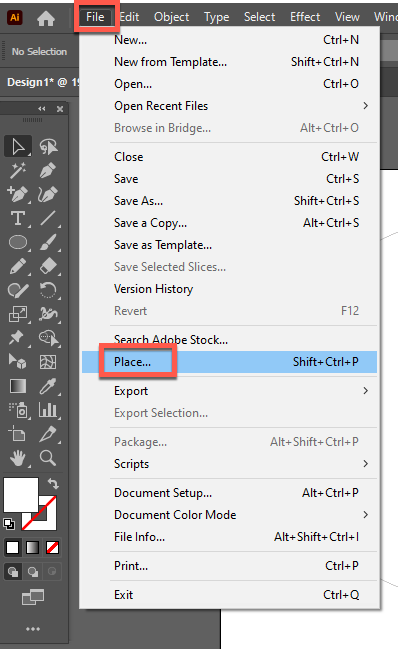
| + | #:[[File:Laser 101.07 File - Place.png]] | ||
Revision as of 12:37, 21 February 2021
This page details the basis of how to create a design via Illustrator and "print" the job to the Epilog laser.
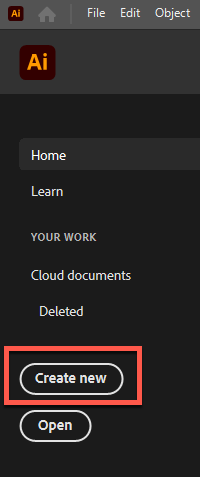
Creating a new Illustrator Artboard
This step is very straight forward and is like creating a new file in any software program you might be familiar with. The critical part of this step is properly setting the dimensions of the material you will place in the laser. NOTE: Failing to properly set the dimensions of your material could result in the laser cutting or etching outside of the intended area.
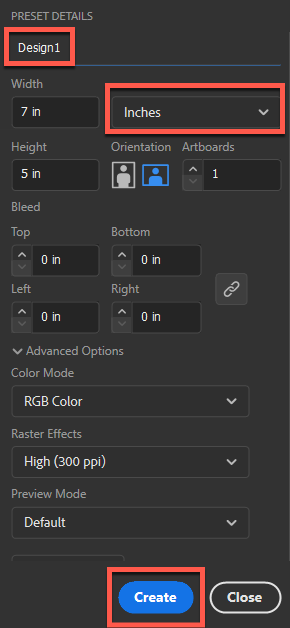
- On the right under Preset Details, you need to enter the details of the material you'll be using. The image below shows the most important settings:
- ITEM 1: Name of your design. IE: Design1
- ITEM 2: Unit of measure. IE: Inches
- ITEM 3: Width and Height of your material. IE: 7 inches width and 5 inches height.
- When you are done setting up your job, click the Create button. The Job Setup panel will close and you will be shown a blank Illustrator design screen which is called an Artboard.
Creating your design
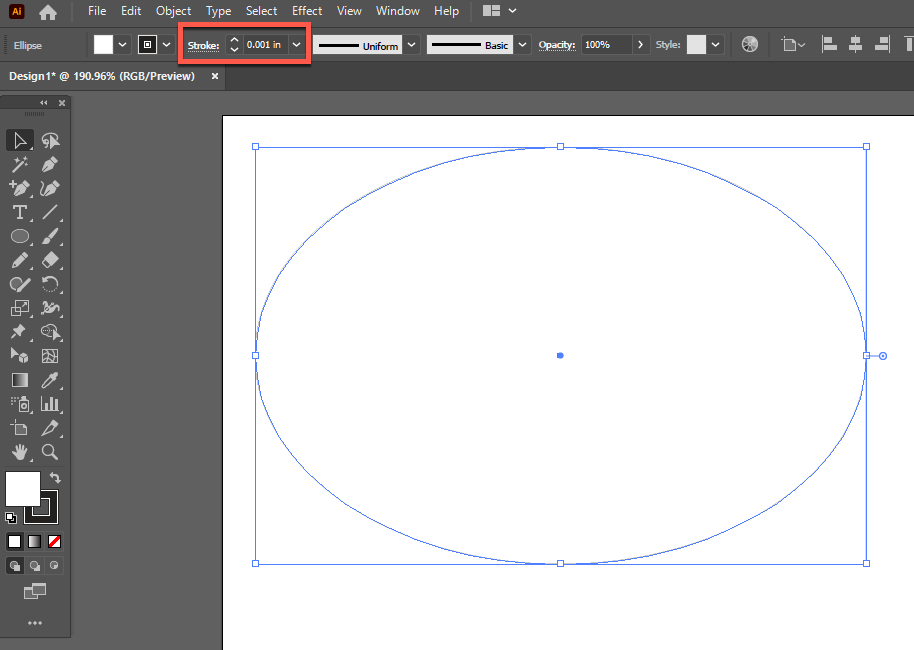
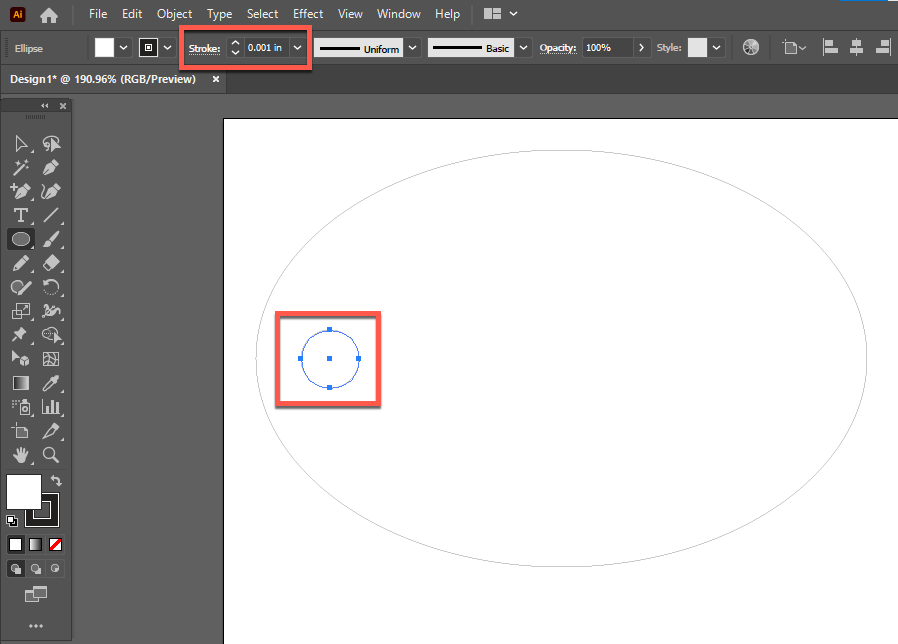
This step involve using a variety of toolbars within Illustrator. The main toolbar is usually docked on the left and is called the Advanced Toolbar.
