MakerFX Wiki!:VCarve Tutorial
Revision as of 15:31, 25 July 2017 by Jstutz (talk | contribs) (Jstutz moved page VCarveTutorial to MakerFX Wiki!:VCarve Tutorial)
Contents
Overview
VCarve is one of the many tools you can use to create designs for the X-Carve CNC. MakerFX has a fully functional Makerspace edition of VCarve Pro on the CNC controller computer which is available for members for use. To learn more about VCarve, visit their website.
Tutorial
This is a very simple tutorial that steps you through the process of creating a new VCarve file through preparing the GCode for the CNC to use. This tutorial is broken down into the following sections:
- Creating a new VCarve Job
- Drawing your designs
- Creating the Toolpaths
- Saving your GCode
Creating a new VCarve Job
- Open VCarve using the shortcut on the desktop
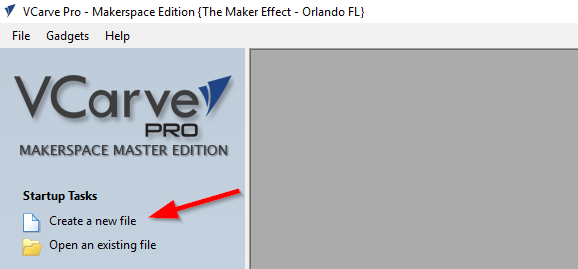
- Either open an existing model, or create a new one. For this tutorial, we'll create a new one.
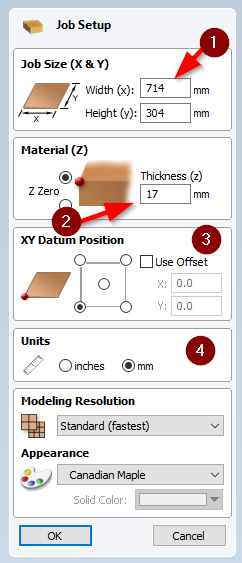
- From the JOB SETUP panel, you need to enter the details of the material you'll be using. The image below shows the most important settings:
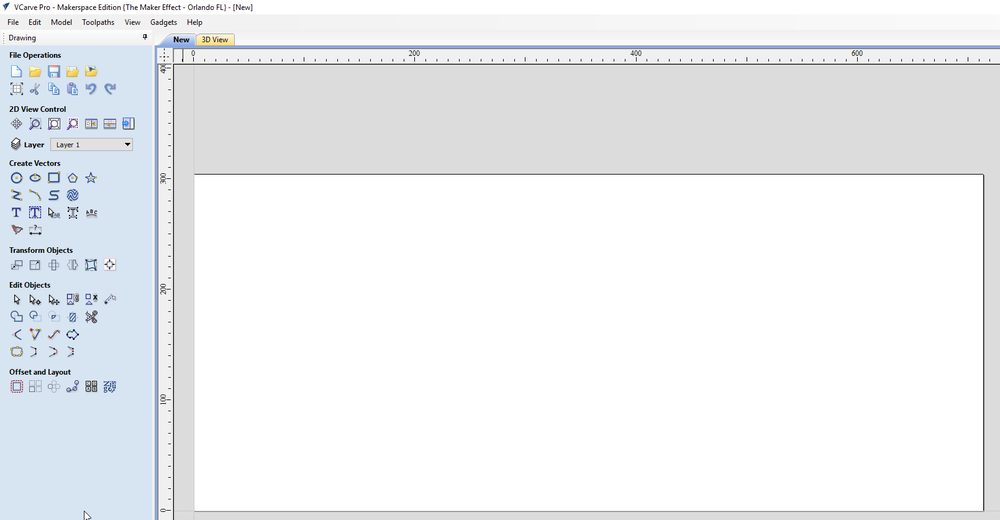
- When you are done setting up your job, click the OK button. The Job Setup panel will close and you will be shown a blank VCarve design screen.


