How to focus the Epilog Laser
Follow these steps to power on the Epilog laser and get it ready for a job.
edit
WARNING!
NEVER USE AUTO FOCUS. It can cause permanent damage to the laser. Follow these instructions to manually focus the laser.
Note that text inside of [] is a key on the laser control panel.
1. Power On
- Switch is located left side of the laser near the front.
2. Use correct table
|
Vector Table
|
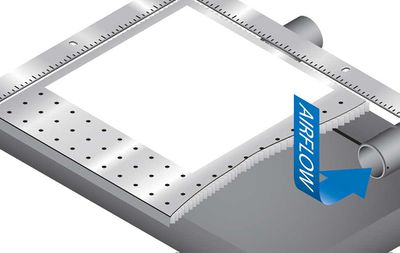
Vacuum Table
|
|
|
3. Focus laser
edit
WARNING!
The X-Gantry on the Legend EXT takes a little effort to move by hand. You may want to use two hands to get it started.
Be careful to avoid touching the optics when you are moving the carriage by hand!
- Press [XY Off] + [GO]
- Manually move the laser to near the center of material - exact location is not important
- Press [Pointer] ON to help
- Remove the focus tool (triangle) from its parked position the tool is pointing down toward the material
- Adjust table so the focus tool just touches the material
- Press [Down Arrow] or [Up Arrow] as needed
- Put the focus tool back in its parked position
- Manually move the laser to the top left of the material - this will be 0,0
- Press [Set Home]
- Note XY will be ON at this point
4. Confirm Home Position (0,0) (note this is an optional step)
- Press [XY Off]
- Manually move laser to some point on your material
- Press [Reset]
- Laser should automatically move to 0,0
5. Warm Up
- Press [Maint]
- Press [Down Arrow]
- Select #2 (Align laser) - Press [Enter]
- Close lid
- Press [Up arrow]
- Press [Stop] 2x times
You can now send (print) your job to the laser.

