Difference between revisions of "3D Printing Zone"
| Line 5: | Line 5: | ||
{| class="wikitable" style="width: 85%;" | {| class="wikitable" style="width: 85%;" | ||
|- | |- | ||
| − | | style="text-align:center; width: 33%; | + | | style="text-align:center; width: 33%;" | |
''' | ''' | ||
=== Model === | === Model === | ||
''' | ''' | ||
| − | | style="text-align:center; width: 33%; | + | | style="text-align:center; width: 33%;" | |
''' | ''' | ||
=== Slice === | === Slice === | ||
''' | ''' | ||
| − | | style="text-align:center; width: 33%; | + | | style="text-align:center; width: 33%;" | |
''' | ''' | ||
=== 3D Print === | === 3D Print === | ||
| Line 19: | Line 19: | ||
|- | |- | ||
| − | | [[File:3DPrinting-Model.png|300px|center|link=http://wiki.makerfx.org/3D_Printing_Model]] | + | | style="height:500px;" | |
| + | [[File:3DPrinting-Model.png|300px|center|link=http://wiki.makerfx.org/3D_Printing_Model]] | ||
Design your own model or find one on the internet. | Design your own model or find one on the internet. | ||
Revision as of 20:58, 24 July 2018
edit
NOTICE!
Click one of the images below to learn more about the three aspects of 3D Printing
|
Model
|
Slice
|
3D Print
|
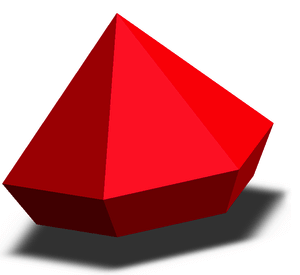 Design your own model or find one on the internet. |
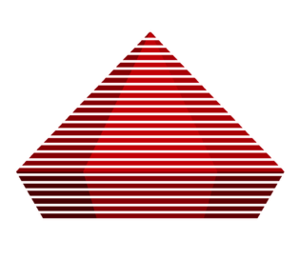 Slicing involves dividing a 3D model into hundreds of horizontal layers that a 3D printer can print. The resulting file is in GCODE format that a 3D printer needs to do its work. |
MakerFX has multiple 3D printers than will turn the GCODE into a physical object. |
Filament
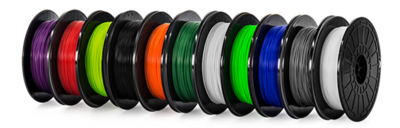 The type of filament used will influence how you configure the slicing software and what 3D printers can be used. | ||