Difference between revisions of "3D Printing Zone"
(→Get An Object To Print) |
|||
| Line 14: | Line 14: | ||
=== Design Something / Find Something To Print === | === Design Something / Find Something To Print === | ||
''' | ''' | ||
| − | | style="text-align:left; width: 33%;" | | + | | style="text-align:left; width: 33%; background-color: #E5E7E9;" | |
''' | ''' | ||
=== Get Ready To Print (Slicing) === | === Get Ready To Print (Slicing) === | ||
''' | ''' | ||
| − | | style="text-align:left; width: 33%;" | | + | | style="text-align:left; width: 33%; background-color: #E5E7E9;" | |
''' | ''' | ||
=== How to use the 3D Printers === | === How to use the 3D Printers === | ||
Revision as of 18:26, 28 July 2018

- Slack Channel: mfx-3d-printing
- Wiki Pages: you are here
- Point(s) of Contact: Jeff Driscoll (@Jeff), Andy Stetzinger (@Andy)
- Computer password: Same as guest wifi
- Ocotoprint credentials: admin / 3dadmin
|
ContentsDesign Something / Find Something To Print
|
Get Ready To Print (Slicing)
|
How to use the 3D Printers
|
 |
 |
|
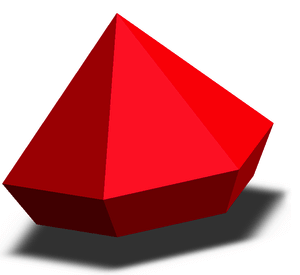
| Design your own model or find one on the internet. | Slicing involves dividing a 3D model into hundreds of horizontal layers that a 3D printer can "print". The resulting file is in GCODE format that a 3D printer needs to do its work. | MakerFX has multiple 3D printers than will turn the GCODE into a physical object. |
Filament
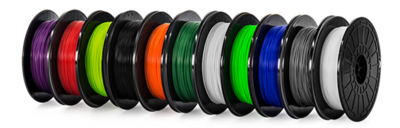 The type of filament used will influence how you configure the slicing software and what 3D printer can be used. | ||