Procedure for Ending Your Machine Embroidery Session
Revision as of 19:41, 10 March 2023 by Carol M Franklin (talk | contribs)
Please Be Excellent and Remember These Steps When You're Done
- Open the Hook Assembly Shaft, remove the bobbin case, and remove any loose pieces of thread or lint from the area. Replace the bobbin case. For help, see How to Change or Refill the Bobbin
- Clear the machine memory.
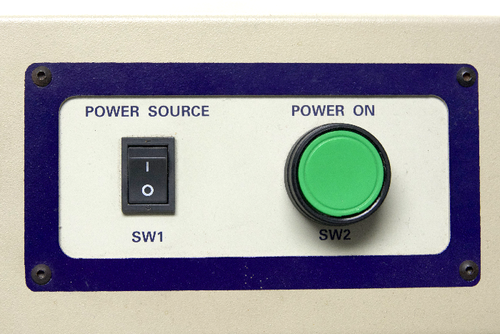
- Turn the Power Switch to the 'OFF' position.
- While the machine is off, press and hold the STOP key on the Automat.
- While holding the STOP key, Press the green 'POWER ON' button to the left of the sewing head.
- Continue to hold down the STOP key until the Memory Erase Screen displays.
- Select 'A' below the O icon to erase the pattern memory. To cancel the process, press 'C' below the X icon. After a few seconds, the Origin Set Screem displays, showing a message indicating that there are no patterns stored in memory.
- Press 'D' below the Check icon to clear the error message. the machine will beep three times, then the normal Origin Set screen displays.
- Press 'D' below the EXECUTE icon to let the machine seek origin. It's then safe to turn the Power Switch to the 'OFF' position again and remove the floppy disk.
Delete your file from Memory Return the needle threaders, tweezers, and applique scissors to the storage box. Remove files from the floppy disk you used and place the disk back into the disk storage box. Check the surrounding area for anything you might have temporarily stashed during your session and return the item(s) to their proper place so the next user can find them easily. Take a moment to vacuum up all of the thread bits that have fallen to the floor, and put away the iron and ironing board if you have used them.

