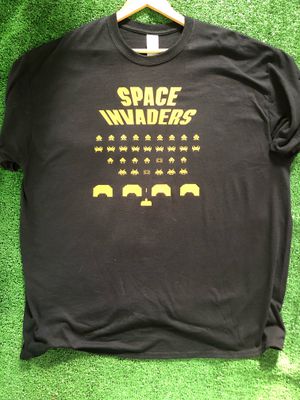
How to Make a T-shirt with Polyurethane Heat Transfer Film using the Epilog Laser
For a long time, we thought that you could NOT use Heat Transfer Vinyl in the laser, because you can't cut vinyl in a laser. We'd use the vinyl cutter, but some of us prefer using the laser...
Then one day, while looking at the Siser Easyweed product page on the Siser website we had an epiphany - SOME HEAT TRANSFER "VINYL" IS REALLY MADE FROM POLYURETHANE! Woah.
Turns out Epilog was way ahead of us and even had a page on how to use it in the Epilog laser.
This guide was written by Ian Cole (@ian on the MakerFX Slack), feel free to ask questions or ask for a 1:1 to get started!
Contents
Getting Started
- Watch a livestream of Ian making a custom shirt for an overview of the process
- Look at a Flickr album of things made with this process to get ideas
Materials Used
- Heat Transfer Film - it must be made from POLYURETHANE (PU) NOT VINYL (PVC)
- One example is Siser EasyWeed - you can see from their website product page that it is made from polyurethane
YOU CANNOT CUT STANDARD ADHESIVE VINYL in this manner. USE THE VINYL CUTTER.
Prepping the Art
Create your art for vector cutting (this should link to another wiki page). Using this method, we will use one power/speed setting for cutting weed areas (cutting the film layer but NOT the adhesive backing) and another power/speed setting for cutting all the way through both layers. You can also just use a pair of scissors to cut your item out of a larger sheet instead of using the laser for these cuts.
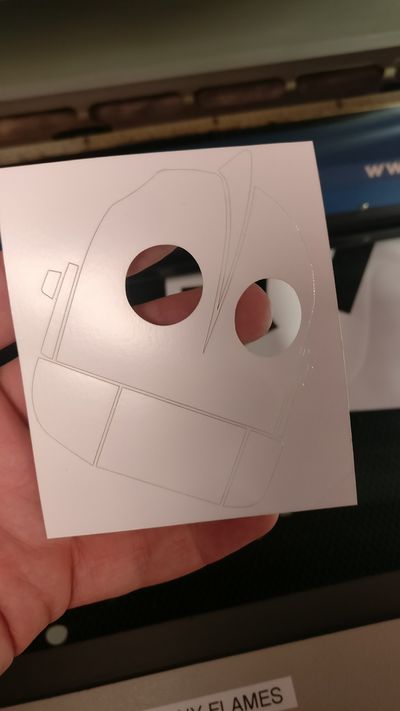
Be careful that you don't have overlapping paths - this is very common when using the illustrator image trace to vectorize art. Double paths will get twice the laser power and cut out small areas... double check your paths carefully. For example, on this art, I accidentally cut out the eyes...oops!
REVERSE THAT ART!
Cutting the Film
- Do all your normal laser setup - focus, fans, etc.
- TIP: Mask the rest of the laser bed with more film or paper to pull the film flat
- Cut with ventilation running!
Film is placed in the laser with the BACK of the colored film layer UP. (The adhesive carrier layer is on the bottom).
Recommended STARTING POINT for settings - you will want to test (I use a 1/2" square in a place on my art that is scrap, and turn off all other layers)
KISS cut - colored film layer only (NEED TO VERIFY)
- Speed - 20
- Power - 1
- Frequency - 500
Through cut - both layers - NOTE, this cut can cause a slight discoloration. You may want to do this with scissors instead.
- Speed - 13 (We were using 10 here, but I backed off a bit to reduce discoloration)
- Power - 2
- Frequency - 500
Run the test, and if needed, adjust speed accordingly. (Less speed = deeper cut, More speed = shallower cut)
Weeding the Film
- Tip - weed the smaller pieces before doing the larger pieces. This way the small bits (and your hands) aren't getting stuck to the large exposed adhesive film areas
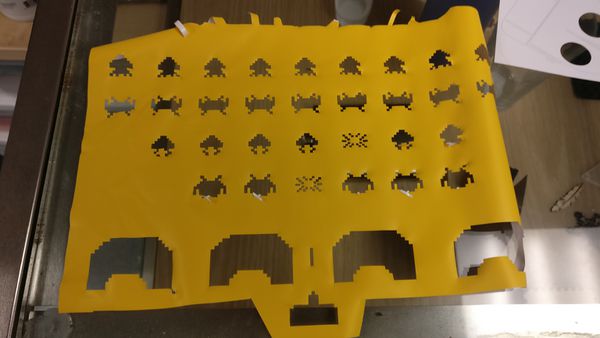
EasyWeed really does weed easy!
Heat Transferring the Film
- Set the Heat Press to 305 degrees, and wait 10-15 minutes for it to warm up.
From the Siser EasyWeed product page (see Application Instructions)
Application Instructions (heat press)
- Preheat garment for 2-3 seconds (I haven't been doing this...now I know!)
- Apply design at 305°F/150°C
- Use medium pressure for 10-15 seconds
- Peel carrier hot or cold


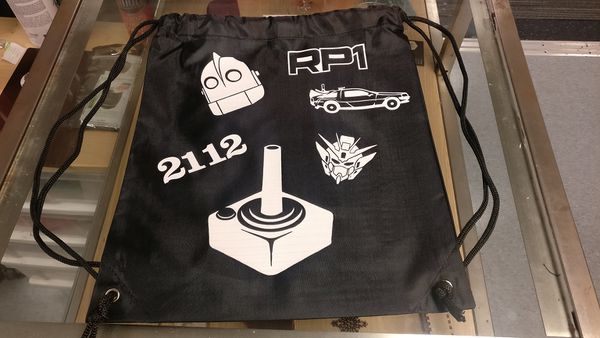
When I did the polyester backpacks, I used a piece of cardboard to get a flat surface. This left ripples from the cardboard in the film. Need to laser a piece of wood for this purpose.
Learning Resources
- Links:
- Epilog example with starting settings
- linky
- linky
- Videos:
- video linky
To Research
- We are working to get an account with a local sign shop so that we can get large quantities of known PU film
- linky
Related Projects
- linky


