How to Make an Embroidered Patch on the Barudan Elite
Patches are awesome. This guide will help you learn how to make patches on the MakerFX Barudan Elite embroidery machine, but this process is the same even for other types of embroidery machines.
NOTE: This tutorial assumes you already know how to load thread, load a file, set the origin, etc. You can get started by embroidering the design on a piece of stabilizer first to ensure that it works well before going through the full patch process.
This guide was written by Ian Cole, feel free to ask questions or ask for a 1:1 to get started!
Contents
Getting Started
- Watch this video for an overview of the process - Embroidery Hub Ep. 28: DIY Patches | Bulk Patch Embroidery Tutorial
- Check out the Learning Resources at the bottom of this guide to see some step-by-step overviews on different websites. There are a LOT of variations on how to do this process, so it can get a bit overwhelming. I'll show you here what worked well for me on our Barudan machine.
Materials Used for Making Patches
- Fabric
- Quilting cotton with patterned designs - its a bit thin, but looks great with designs, especially with bright colors
- Twill - I've experimented with Twill iron-on patches and now looking for a source of twill by the yard
- Stabilizer / Backing / Interfacing (too many words for this stuff!)
- Standard Stabilizer (I've been using the roll)
- Water Soluble Stabilizer (Need to note the Pellon # that I've been using)
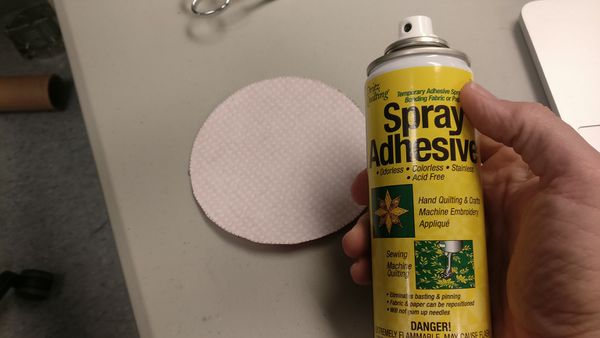
- Spray Adhesive - Dritz Quilting Adhesive Spray - DO NOT USE STANDARD ADHESIVES, they can gum up the needles
- Border Color bobbin (optional) - you can use a border color bobbin when doing the border. This isn't required, but adds a pro level of finish.
Prepping the Art
There are a few different ways to approach patch making. You can take an existing embroidery design and a separate applique / patch border and use them together, OR you can design a custom patch file. You need a "dieline" which is a single perimeter stitch for placement, a zig-zag tack down stitch (optional, but recommended), the patch edge border, and the main design for the patch.
For this tutorial, I used two designs from Urban Threads.
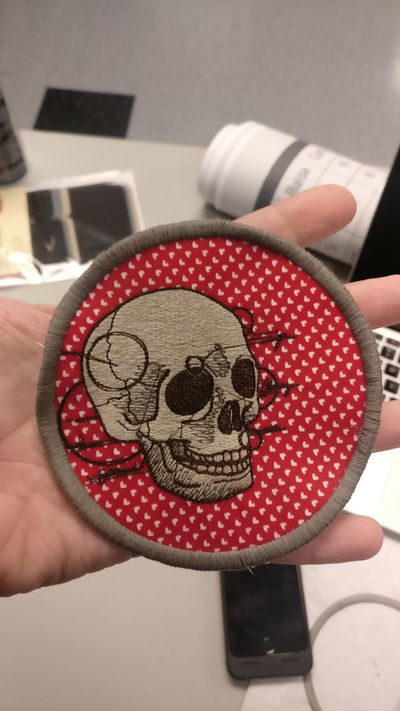
Designs: UTZ1143 - Patch Border - Circle and UT2006 - Anatomical Skull
I purchased the designs, downloaded the .dst files, downloaded the thread list pdf (example), then selected matching threads using the Madeira online rayon thread color guide (since Urban Threads specifies their colors using Madeira thread.
I was able to put the .dst files straight onto the floppy disk and load into the Barudan without using any embroidery software.
Note that Urban Designs sells different sizes of their designs which have different levels of detail - while scaling is possible on the machine, these more complicated designs will look much better if you buy the size that is closest to what you want to embroider.
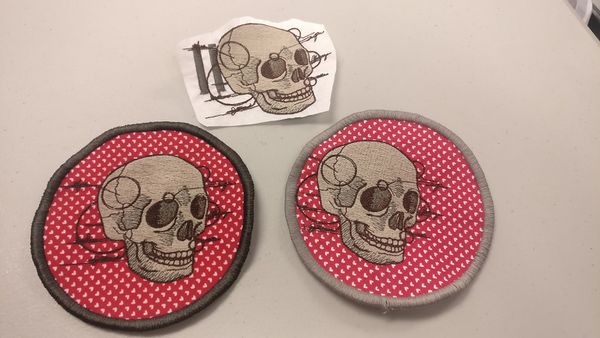
I suggest that you start by embroidering the design on a piece of stabilizer first - this lets you verify thread colors, sizing, etc BEFORE going through the full patch process. You can see that I started on stabilizer (and I'd already used the stabilizer for some thread tension tests), then made a patch without my center correct, then the final patch I had a proper center, and changed the border color...
Making the Patch
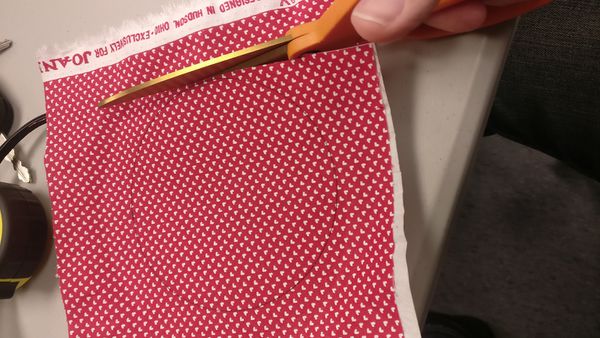
- Cut a piece of material and standard stabilizer / backing - use the spray adhesive to fuse them together
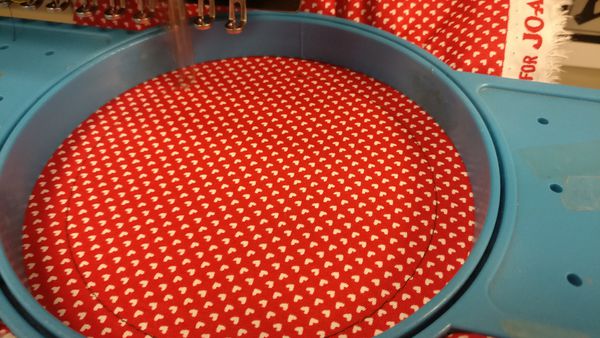
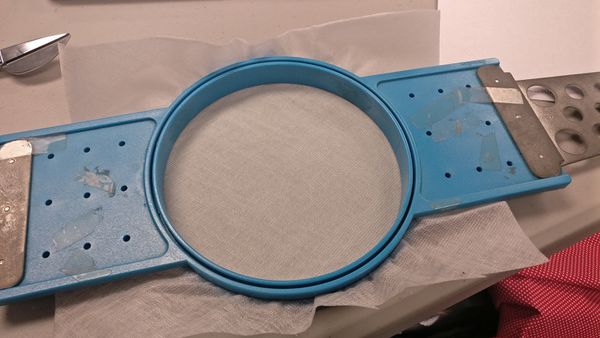
- Hoop the fabric + standard backing
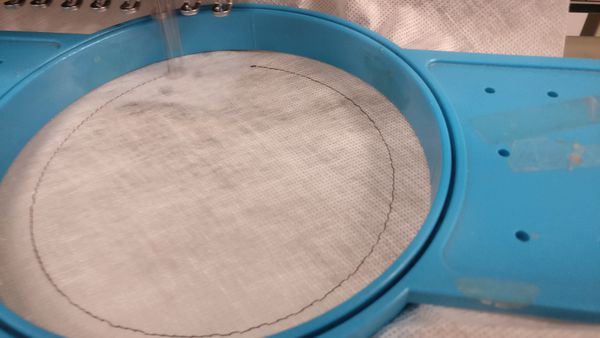
- Embroider the dieline on the fabric and backing (I used border color thread) - this dieline will be used to cut the fabric + backing to create the body of the patch
- Cut the fabric + backing very close to the dieline
- Hoop the water soluble stabilizer
- Embroider the dieline on the water soluble stabilizer - again I used the border color thread
- Apply spray adhesive to back of the fabric + backing
- Place the fabric + backing onto the water soluble stabilizer using the dieline as a guide
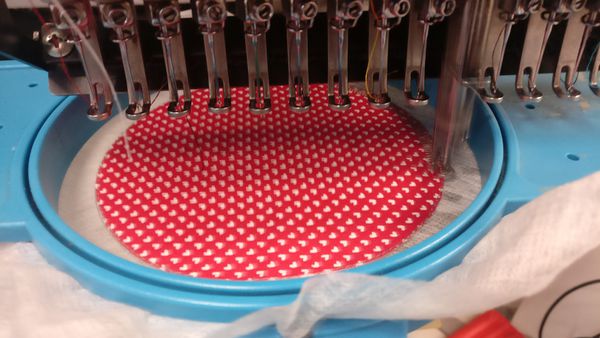
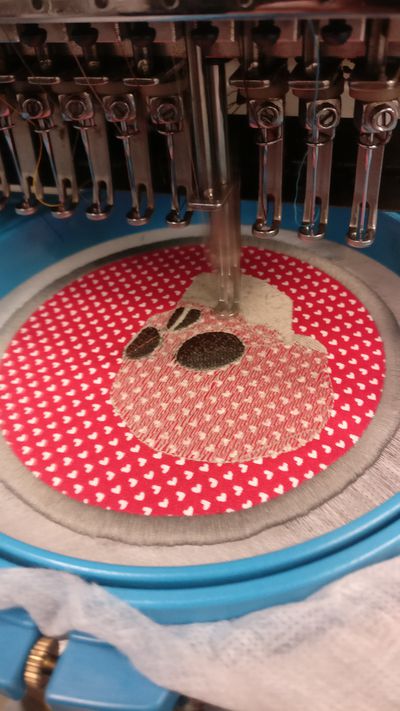
- If you have a zigzag stitch line for attaching the patch (like in the Urban Threads patch borders) use it to attach the patch - otherwise, start embroidering the border. If your patch needs the border done last, strongly recommend using a zigzag attaching stitch. I again used the border color thread for the zigzag stitch
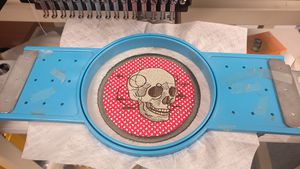
- Embroider the border, then the center art - Note that PROs use a border color bobbin when doing the border. This isn't required, but adds a pro level of finish.
- Clean up any extra threads / jump stitches, etc.
- Unhoop the patch
- Trim the water soluble stabilizer close to the patch edge
- Rinse the patch to washaway the stabilizer
- Use a cloth to absorb excess water and let the patch dry
You can add different backing to make the patch iron-on, etc. I've not done this yet...
Learning Resources
- Links:
- How to Make Patches with Your Embroidery Machine - Erich Campbell
- How to Make Patches - Cotton and Steel Fabrics
- Patch It Up - Urban Threads
- Videos:
- Embroidery Hub Ep. 28: DIY Patches | Bulk Patch Embroidery Tutorial - Good video of the process
