Difference between revisions of "Forest CNC Set Job Home"
BradfordBenn (talk | contribs) |
|||
| (16 intermediate revisions by 2 users not shown) | |||
| Line 17: | Line 17: | ||
|style="width: 35%"| | |style="width: 35%"| | ||
=== 1. Secure the material === | === 1. Secure the material === | ||
| − | * | + | *Metal attachment is not to be used as it shorten the light of the spoil board, as well as being an unwelcome item when others are using the CNC system. Not every material canbe stapled directly. If you are using one of those materials, use a piece of wood to hold the material and then staple the wood down. Another option is to use the bench dog holes. |
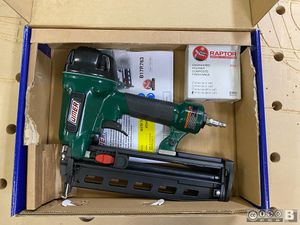
| + | *MakerFX has a [[Composite Stapler]] specifically for securing wood to the CNC spoil board. The use of screws or other metal methods is no longer allowed. | ||
*You may have to use '''CNC Controls''' and manually move the gantry to allow room to secure your material | *You may have to use '''CNC Controls''' and manually move the gantry to allow room to secure your material | ||
| − | |[[File: | + | |[[File:Composite Stapler.jpg|300px|left]] |
|- style="vertical-align:top;" | |- style="vertical-align:top;" | ||
| Line 62: | Line 63: | ||
| | | | ||
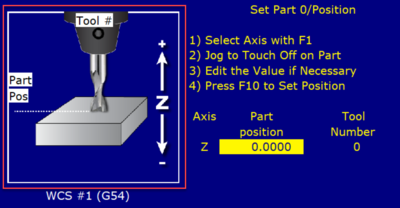
=== Set Z Position === | === Set Z Position === | ||
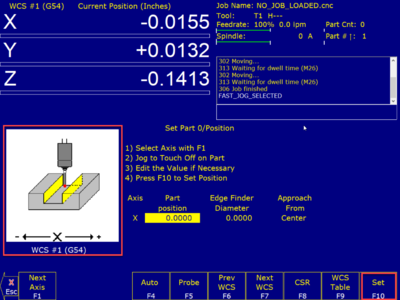
| − | + | *Click '''SET (F10)''' to set the Z Home to the current position | |
| − | *Click | + | *Click '''NEXT AXIS (F1)''' to return to X |
| − | |||
| − | |||
| − | |||
| − | |||
| − | *''' | ||
| − | |||
| − | |||
|[[File:CNC_Set_Z.png|400px|left]] | |[[File:CNC_Set_Z.png|400px|left]] | ||
| − | |||
| − | |||
|- style="vertical-align:top;" | |- style="vertical-align:top;" | ||
| Line 86: | Line 78: | ||
|[[File:CNC_F3_MDI.png|800px|left]] | |[[File:CNC_F3_MDI.png|800px|left]] | ||
[[File:CNC_Confirm_Home_A.png|500px|left]] | [[File:CNC_Confirm_Home_A.png|500px|left]] | ||
| − | |||
|- style="vertical-align:top;" | |- style="vertical-align:top;" | ||
| Line 93: | Line 84: | ||
*You have successfully set Job Home | *You have successfully set Job Home | ||
*Next step is to '''[[Forest_CNC_Run_Job | load and run your job]]''' | *Next step is to '''[[Forest_CNC_Run_Job | load and run your job]]''' | ||
| + | | | ||
| + | |||
| + | |- style="vertical-align:top;" | ||
| + | | | ||
| + | === NEXT STEP === | ||
| + | |||
| + | [[ Forest_CNC_Run_Job | Click here for the next step ]] | ||
| | | | ||
|} | |} | ||
| + | |||
| + | [[Category:CNC Router]] | ||
Latest revision as of 20:14, 30 August 2022
edit
REMEMBER To Reserve Time!
Various tools such as the lasers, 3D Printers, and Forest CNC need to be reserved before using the tool. There is a link on each tool's wiki page, and in each tool's Slack channel to reserve time, or you can select the tool from the MakerFX PickTime page
Note: As of March 2025, we are implementing PickTime tool by tool - review the Slack channel for each tool for current status.
Follow these steps to set the home position for your job. Think about how you have defined the job in VCarve Pro and set the home position to match that design.
|
Steps
|
Visual
|
1. Secure the material
|
|
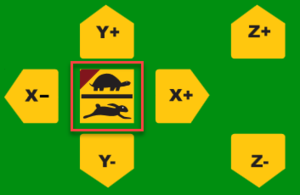
2. Move Gantry To Job Home - Get Close
|
|
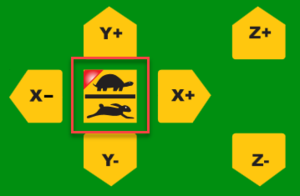
3. Move Gantry To Job Home - Fine Tune
|
|
4. Set new Home coordinates
|
|
Set X Position
|
|
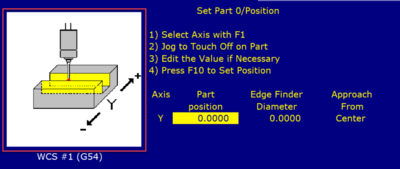
Set Y Position
|
|
Set Z Position
|
|
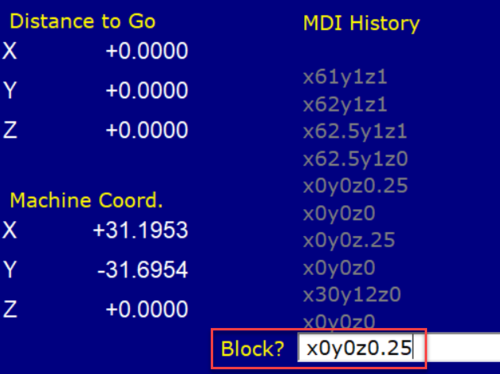
5. Confirm Job Home
|
|
SUCCESS
|
|
NEXT STEP |
