How to Make an Embroidered Patch on the Barudan Elite
Contents
Learning Resources
- Links:
- How to Make Patches with Your Embroidery Machine - Erich Campbell
- How to Make Patches - Cotton and Steel Fabrics
- Patch It Up - Urban Threads
- Videos:
- Embroidery Hub Ep. 28: DIY Patches | Bulk Patch Embroidery Tutorial - Good video of the process
Materials Used for Making Patches
- Quilting cotton with patterned designs - its a bit thin, but looks great with designs, especially with bright colors
- Twill - I've experimented with Twill iron-on patches and now looking for a source of twill by the yard
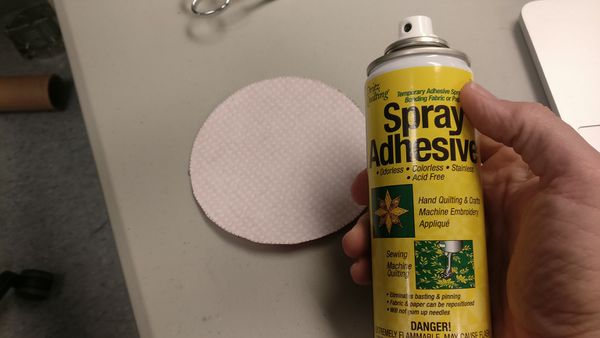
- Spray Adhesive - Dritz Quilting Adhesive Spray - DO NOT USE STANDARD ADHESIVES, they can gum up the needles
- Standard Stabilizer (I've been using the roll)
- Water Soluble Stabilizer (Need to note the Pellon # that I've been using)
Prepping the Art
There are a few different ways to approach patch making. You can take an existing embroidery design and a separate applique / patch border and use them together, OR you can design a custom patch file. You need a "dieline" which is a single perimeter stitch for placement, a zig-zag tack down stitch (optional, but recommended), the patch edge border, and the main design for the patch.
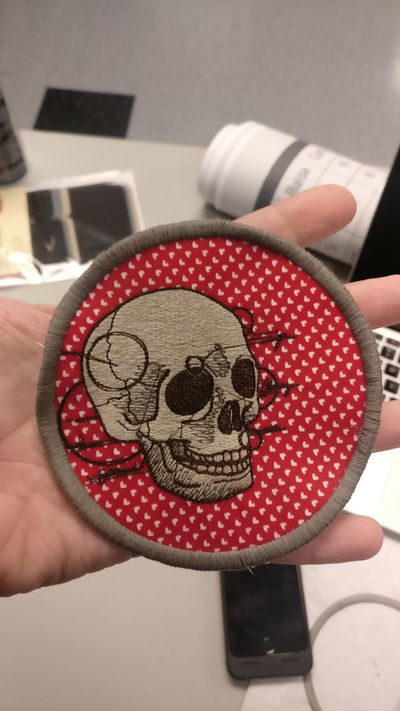
For this tutorial, I used two files from Urban Threads. Files: UTZ1143 - Patch Border - Circle and UT2006 - Anatomical Skull
Making the Patch
NOTE: This tutorial assumes you already know how to load thread, load a file, set the origin, etc. Strongly suggest trying a new design on a piece of stabilizer first to ensure that it works well before going through the full patch process.
Steps:
- Art Prep
- Need the embroidery Design
- Need an outer circle stitch - I used embird to add a "basting stitch" in the editor.
- Gather Materials
- Make a fabric sandwich - front fabric, back fabric - can use the same fabric. Can fuse with adhesive or with a fusable interfacing material
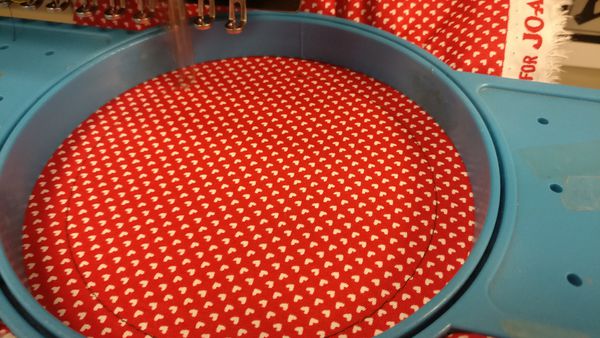
- Hoop the fabric + standard backing
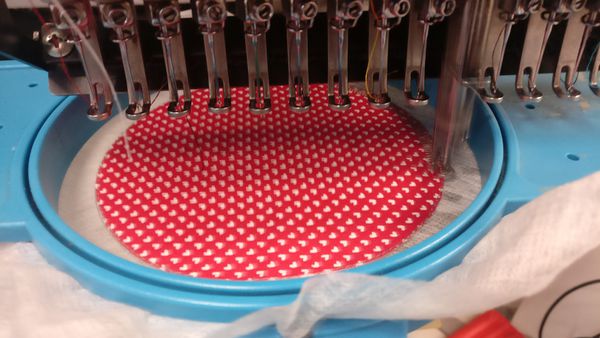
- Embroider the dieline on the fabric and backing
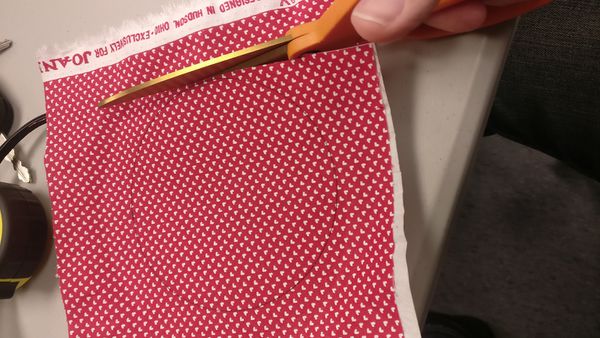
- Cut the fabric + backing very close to the dieline
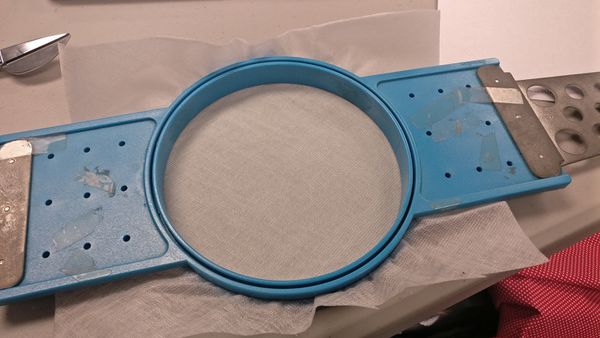
- Hoop the water soluble stabilizer
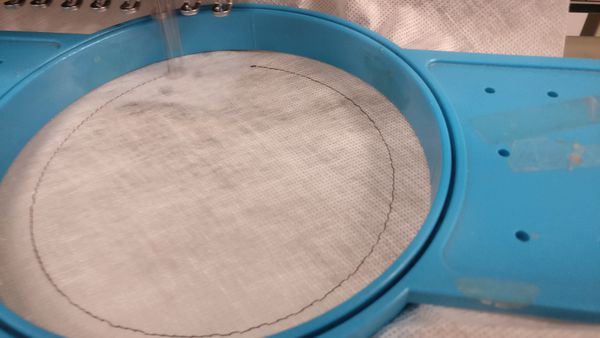
- Embroider the dieline on the water soluble stabilizer
- Apply spray adhesive to back of the fabric + backing
- Place the fabric + backing onto the water soluble stabilizer using the dieline as a guide
- If you have a zigzag stitch line for attaching the patch (like in the Urban Threads patch borders) use it to attach the patch - otherwise, start embroidering the border. If your patch needs the border done last, strongly recommend using a zigzag attaching stitch.
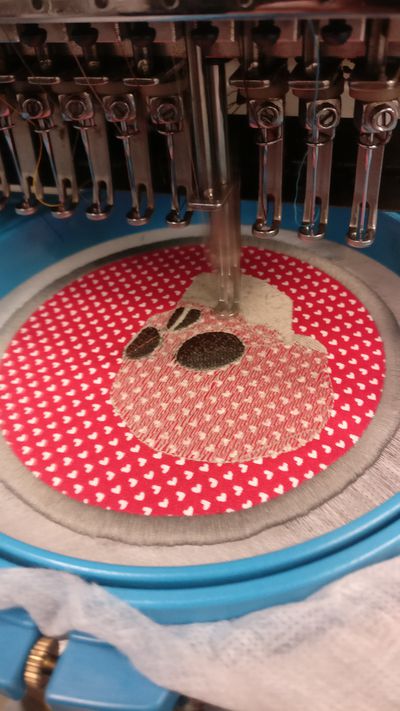
- Embroider the border, then the center art
- Clean up any extra threads / jump stitches, etc.
- Unhoop the patch
- Trim the water soluble stabilizer close to the patch edge
- Rinse the patch to washaway the stabilizer
- Use a cloth to absorb excess water and let the patch dry
