Difference between revisions of "Forest CNC Startup"
| Line 15: | Line 15: | ||
|- | |- | ||
| − | |style="width: | + | |style="width: 35%"| |
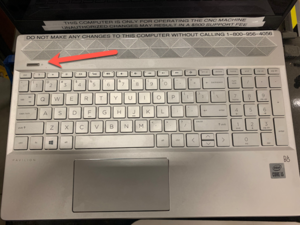
=== 1. Turn on the computer === | === 1. Turn on the computer === | ||
| − | | | + | |[[File:CNC_Laptop_Power.png|300px|left]] |
|- | |- | ||
Revision as of 19:07, 10 February 2021
edit
REMEMBER To Reserve Time!
Various tools such as the lasers, 3D Printers, and Forest CNC need to be reserved before using the tool. There is a link on each tool's wiki page, and in each tool's Slack channel to reserve time, or you can select the tool from the MakerFX PickTime page
Note: As of March 2025, we are implementing PickTime tool by tool - review the Slack channel for each tool for current status.
Follow these steps to startup the CNC from a powered off position.
|
Steps
|
Visual
|
1. Turn on the computer |
|
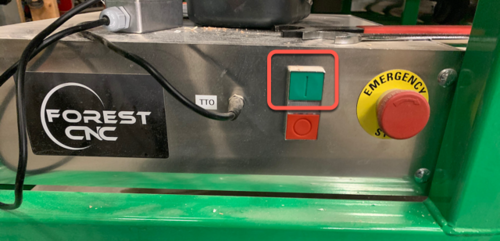
2. Turn on the CNC controller
|
|
3. Start Router Control application
|
|
4. Verify gantry in Parked position
|
|
5. Set CNC Home
|
|
SUCCESS
|

